Showing posts with label Food and Recipes. Show all posts

Thursday, May 16, 2013

Meal Planning for the Drive-Through Addicts

As I'm sure you could tell, I've been much too busy for blogging lately.  May is the craziest month in the Buckley House - last year we were gearing up for our first baby and the year before that, May was a busy wedding planning month.  This year we have an adventurous (almost)toddler, two wild puppies, a house, yard, etc.

When every weekend is full, we have to make a special effort to be productive during weekdays.  This has always been difficult for me - I love my downtime, especially when Little J is napping and the whole house is quiet for once.  But because the Babe is so much more mobile these days, I have to provide him almost constant supervision (plus, I really love playing with him!) so I have to utilize naptimes more efficiently.

Today, I put my 45 minutes of morning nap/quiet time to good use.

Jared and I have always struggled (for the past 4 years) with meal planning.  Every night we play the "what do you want for dinner?.... I don't care, what do you want?" game.  This game always lands us in the same place:  Taco Bell.  Or Panda Express.  Or Chick Fil-A.  Regardless of the restaurant, we always seem to find excuses to forget any pre-planned meals at home and go through a drive-through.  "This needs to end!" we say every week.  Our wallets (and thighs) are suffering, but mostly I just can't handle the guilt of being such bad Eating Role Models for our child.  So, for reals this time, it ends now!

Here is the first part of my brilliant solution:

Weekly meal planning made easy.  It's just a start - to get us back into the habit of eating most of our meals at home.  I decided we would be more likely to succeed if I kept things simple and easy for now.  Instead of planning exactly what I'll cook each weeknight, I will plan for certain genres of meals.  "Pasta" could mean spaghetti, or mac and cheese, or casserole, or Top Ramen.  I'm hoping this will ease us into a lifestyle of successful meal planning.


I used some scrap paper I had on hand and cut strips for my weekly calendar, as well as some little squares for the meals


I had an old magnet that I cut up into pieces and stuck to the backs of my squares with double-sided tape.


I also attached magnets to the backs of my week strips.


And hung them in plain sight on the fridge! The meal squares can be moved around depending on our moods any particular week.  Or I can add new ideas if I choose. 


I also made a weekly calendar for chores (because I'm a procrastinator and I always put off cleaning the bathrooms).  This way I can hold myself accountable.  Do the chores on their assigned days!

Tuesday, May 14, 2013

Peach Cupcakes

I am nothing even close to a cooking expert, but every now and then I come across awesome recipes that I just have to share.  I found this gem while searching for peach desserts, and they are hands down the best cupcakes I have ever, ever made:

The original recipe can be found on this awesome blog: Cathlin Cooks... But Mostly Bakes!


Now, I passed up the food coloring step (mostly out of laziness) so my cupcakes didn't turn out quite as colorful as hers.  But I like to think that my cupcakes were just  as tasty!


I added my own little flair to these babies by topping them with candied pecans.  And trust me, the "pecan bite" was the yummiest bite of the whole cupcake.


I wonder if the recipe could be tweaked by using different kinds of fruits.  Like... blueberries? I'll let you know how my experimentation turns out!


Monday, May 6, 2013

Frozen Yogurt Bites

We've been so busy lately over here at our house. Here's what we've been up to the past couple weeks:

Shoveling snow in our driveway (approximately 14 times)
Moving furniture
Planting a tree
Laying pavers
Watching Yo Gabba Gabba
Filling holes that Leia has dug in the yard
Wrangling the crawling, standing, almost-walking babe
Hanging pictures
Picking paint colors
Fixing billing errors over the phone with our insurance agent
Soothing Little J when his teeth hurt

Notice how "blogging" isn't on that list?  Yeah... sorry!  But I did manage to take some photo documentation of some of our projects.

I found a (somewhat helpful) solution to The Peanut's teething pains.  He's not a fan of teething rings (but Leia is a HUGE fan, we have discovered, when the babe throws them to her on the floor).  He is, however, a major fan of EATING. 

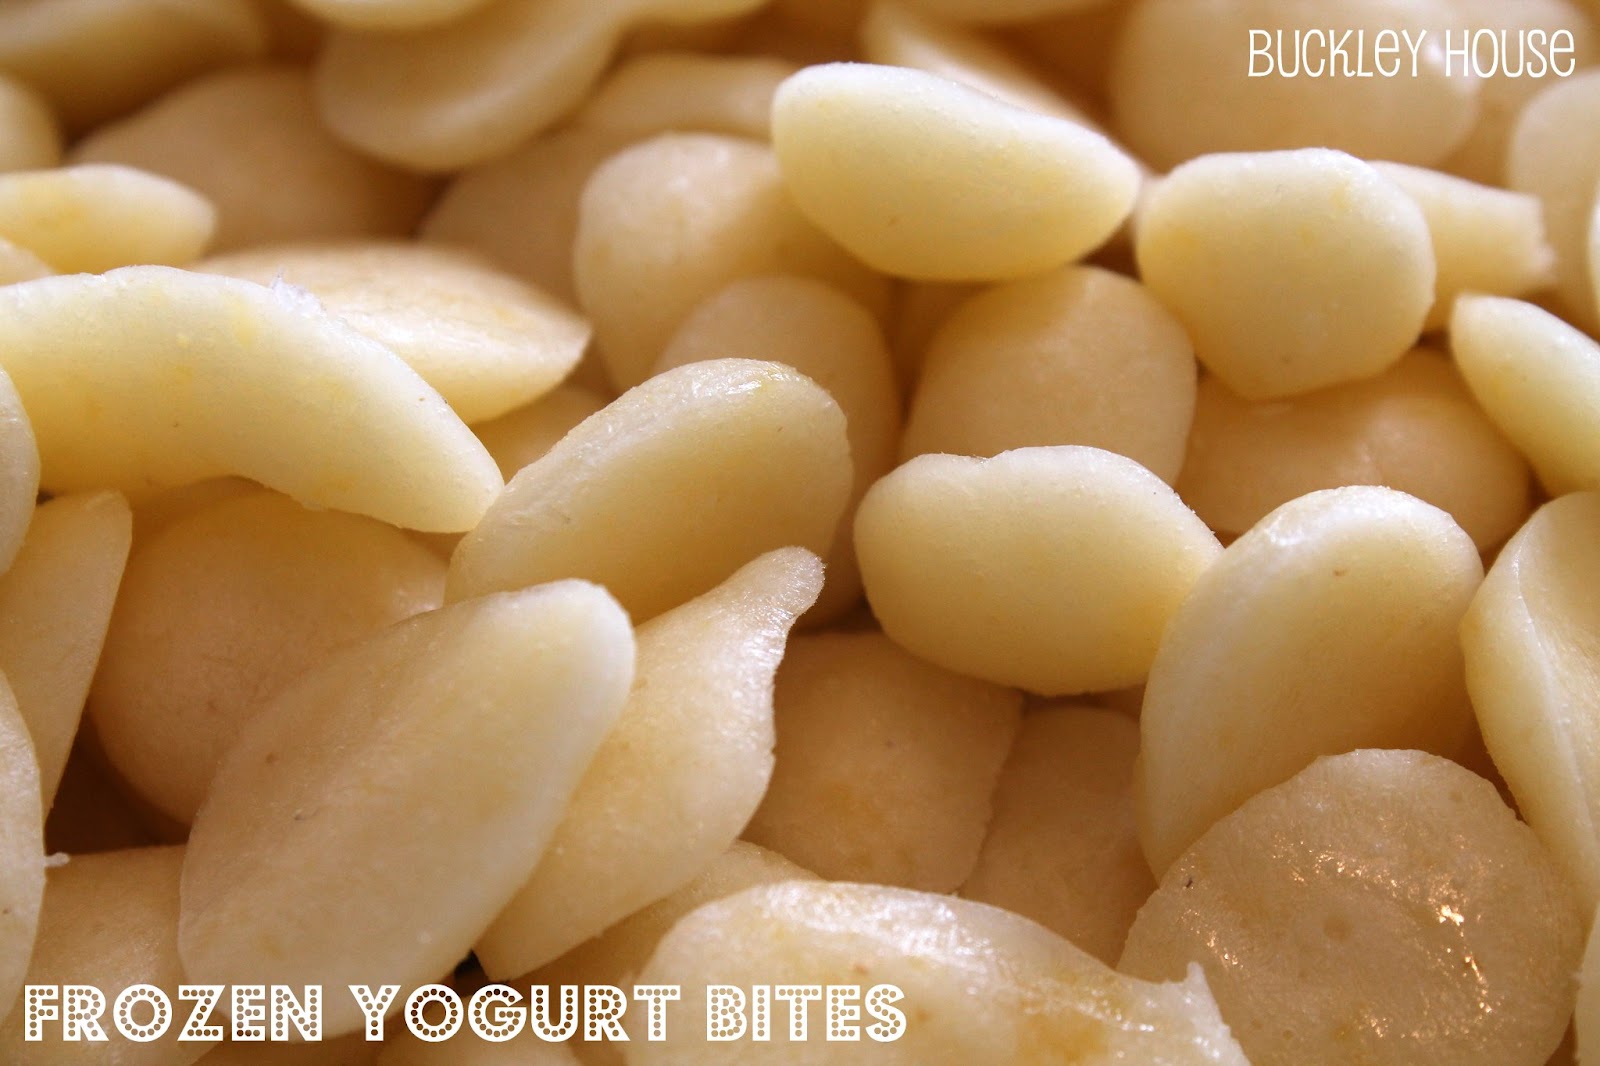
I made some frozen yogurt bites for Little J to munch on. They are healthy and sooth his sore gums.

Ingredients:

Any type of yogurt (I used "plain" because that's what I had in my fridge)
Optional: Fresh/Pureed Fruit


I blended all my ingredients together lightly in my Baby Bullet, then poured the mixture into a baggy.


By cutting a small corner off the baggy, I was able to squeeze the yogurt out in small drops onto wax paper (the same way I might frost cupcakes in a jam).


I ended up filling several sheets of wax paper with yogurt drops.


These little babies freeze quickly, so I was able to pile the wax paper sheets on top of each other as I went.  Don't judge the interior of my freezer... there's no reason we should have 2 lonely Eggo Waffles stashed at the back, uneaten.  But now I know they're there, so they won't last...


Once completely frozen, the yogurt drops simply peel off the wax paper. Easy peasy!


They are easy for the babe to pick up (and just as easy for him to toss on the floor to feed the dogs, like he often does).


See those tiny little bottom teeth?  The twice-as-big top teeth are making their debut any day now, and Little J loves to remind us how much they hurt.  Poor chap.


Remember little Leia?  Not little anymore... And certainly not done growing either!  She's been assisting the babe in cleaning his tray at mealtimes.   I don't think he minds.


I store these yogurt bites in the freezer in an airtight container.  They should keep for a couple weeks, but they do melt quickly, so I don't ever leave them out on the counter for very long.  And I only give the babe a few at a time, because once they start melting, they smear everywhere.


Monday, April 22, 2013

Mug Brownies

We love Colorado.  I can't emphasize that enough. 

We also love Colorado's annual winter encore (usually right around my birthday at the end of March), but this year we enjoyed 18 inches of snow, beginning on April 15th.  When it snows this late in the spring, it's almost like a second chance at the holidays.  So this year, we celebrated our snowstorm with desserts.

Little J is a bit too small for snow shoeing, so we admired the fluffy day from inside our warm, chocolatey kitchen.


Since the snow continued to fall for several days, we had multiple opportunities for snuggly, sugary celebrations as a little family.  My favorite dessert to make (and by far the easiest that I know of) is Mug Brownies.


These are sooooo easy and always end up tasting delicious.  And, since there are no eggs in the recipe, the batter can be consumed raw (if you're really in a hurry for something sweet)!

Ingredients:

1/4 C. Sugar
1/4 C. Flour
2 T. Cocoa
Pinch of salt
2 T. Oil
3 T. Water


Directions:

Mix dry ingredients in mug.  Once combined, mix in wet ingredients (I switch off between olive oil and vegetable.  I can't taste the difference, honestly).  Mix very well. Once smooth, scrape down sides of mug and microwave for 2 minutes. Mug will likely be very hot.  Use caution when removing and allow to cool for a couple minutes before devouring. 


Seriously, mix the batter really well.  Otherwise you may end up with a really salty bite right at the bottom and be left with such a salty taste in your mouth that you are forced to bake another brownie to wash down the salty flavor.


After the brownie has cooled slightly, I add some chocolate syrup right over the top.  It will melt and ooze down through the brownie (making it super duper moist and rich).  I've also done this with caramel syrup - equally heavenly.


Then I pull out some of my favorite fridge friends.  This step is never necessary (but trust me, it's worth the extra calories).


I make our brownies as pretty as I can, because once we dig in they don't last very long.   And they were mmmmmm... perfect for a snowy day indoors.  I can't wait till Little J is old enough to enjoy this treat!


Saturday, April 6, 2013

More Homemade Baby Food

In my previous post about Homemade Baby Food, I focused on yummy food combos.  These were a big hit with the babe, but were a bit more work that I am willing to do on a regular basis.  Once my freezer started running low, I bought some more ingredients to replenish my supply...


For this batch I decided I would focus on prep speed.  I want to streamline my process and be as efficient as possible, while still providing Little J with some fun variety in his meals.


While my Young Chap munched on his finger food, I devised a cooking plan.  Only about half of the produce I bought actually needed to be cooked before pureeing, so I planned the order in which I would cook these items, then got some water boiling.

My Prep Plan:

1. Start boiling water while peeling and coring my 4 pears
2. Drop my pear bits into the pot to cook until soft (for 10-15 minutes, depending on their ripeness)
3. While cooking pears, cut pineapple and cantaloupe, removing skin and cores
4. Puree pineapple, pour into containers, rinse blender and repeat with cantaloupe
5. Remove pears from stove and allow to cool before pureeing, meanwhile bring water back to boil
6. Pour frozen green beans into pot to cook until soft (this took longer than I expected, 20-30 minutes)
7. Puree banana, pour into containers, rinse blender
8. Remove beans from stove and allow to cool before blending.
9. Repeat bean process with frozen peas (needed less time to cook, 10-15 minutes)

1 oz. servings
This batch was just as large as my previous batch, but took only a little more than half as long to prepare.  The downside for me when making big batches is that I only have 2 freezing trays, so I am forced to refrigerate my purees until the first round of freezing is done and I can transfer them to bigger containers.


2 oz. servings

I make sure to label my containers (I use a washable marker, like Vis-a-Vis) with the type of food and the date it was made.  I don't let my frozen baby food sit for longer than a month before tossing it, to avoid tummy aches and other bad stuff.

I cropped the Toaster Studels out of this picture out of shame
Once I'm ready to feed Little J a serving, I either defrost in the microwave at 15 second intervals until warm, or thaw overnight in the fridge in one of these Baby Bullet containers.  At 10 months old, my babe eats 3-4 ounces of puree at each meal (sometimes more), so I'm still allowed the freedom to create yummy food combos by mixing individual servings of food.

I really need more of these freezer trays!


Sunday, March 10, 2013

Homemade Baby Food

There are so many reasons to make your own baby food (lower cost, no preservatives, larger variety...) but I truly think Little J enjoys the taste of my homemade baby food better than anything I've bought from the store. 

I have Little J all figured out... he's just like his daddy (except he has an "outie" belly button and likes to be held upside down).  They both enjoy iPhones, monkeys and most of all, sweets.  Just a couple days ago I caught the babe gnawing on the last Golden Oreo (that I had set aside for myself and forgotten about.  Bad mom moment... although I at least restrained from licking the remaining frosting off of his pudgy little fingers).

My young chap won't eat anything unless I mix a little fruit into it, so I devised my own recipes that mix sweet flavors and veggies together.  Since he's 9 months old, I have a little more freedom (some foods are still off limits until he's a year old, like honey and citrus, and there are still a few foods that have a higher risk of allergy - especially since Jared has several food allergies).

Banana & Spinach
Sweet Potato & Zucchini
Carrot & Pear
Sweet Potato & Green Bean
Mango & Avocado

I begin by purchasing fresh produce (some fruits and veggies are better to buy organic - a rough guideline that I try to follow can be found here).


I try to make big batches all at once to contain the mess.  I peel and cut everything up first, trying to make all pieces roughly the same size and thickness.  My fruits and veggies can be cooked by steaming or boiling (but boiling is much easier for me).  Foods that do not need to be cooked are bananas, watermelon, cantaloupe, pineapple, and avocado.


I snipped my green beans with kitchen shears.  Jared informed me when I was almost done that these scissors don't work very well to trim nose hairs.  I don't think I want to know how he discovered this fact...


I cook my produce until soft.  The amount of time varies, so I fish my pieces out when they're done and let the rest continue cooking.

 
Spinach does not need to be boiled - it cooks just fine without any water.  I took a shortcut here by microwaving my spinach in a bowl for a couple minutes before blending it with bananas.  Little J loves bananas so much that I could have added a more flavorful vegetable (spinach is fairly mild) and he probably wouldn't have even noticed.  Jared says I could feed him trash mixed with bananas and he'd gobble it up.

before

after
 My mother-in-law was sweet enough to buy this Baby Bullet for me while I was pregnant.  I prefer the BB to a normal blender because it's easier to store, use and clean.  It also comes with a wonderful storage system.

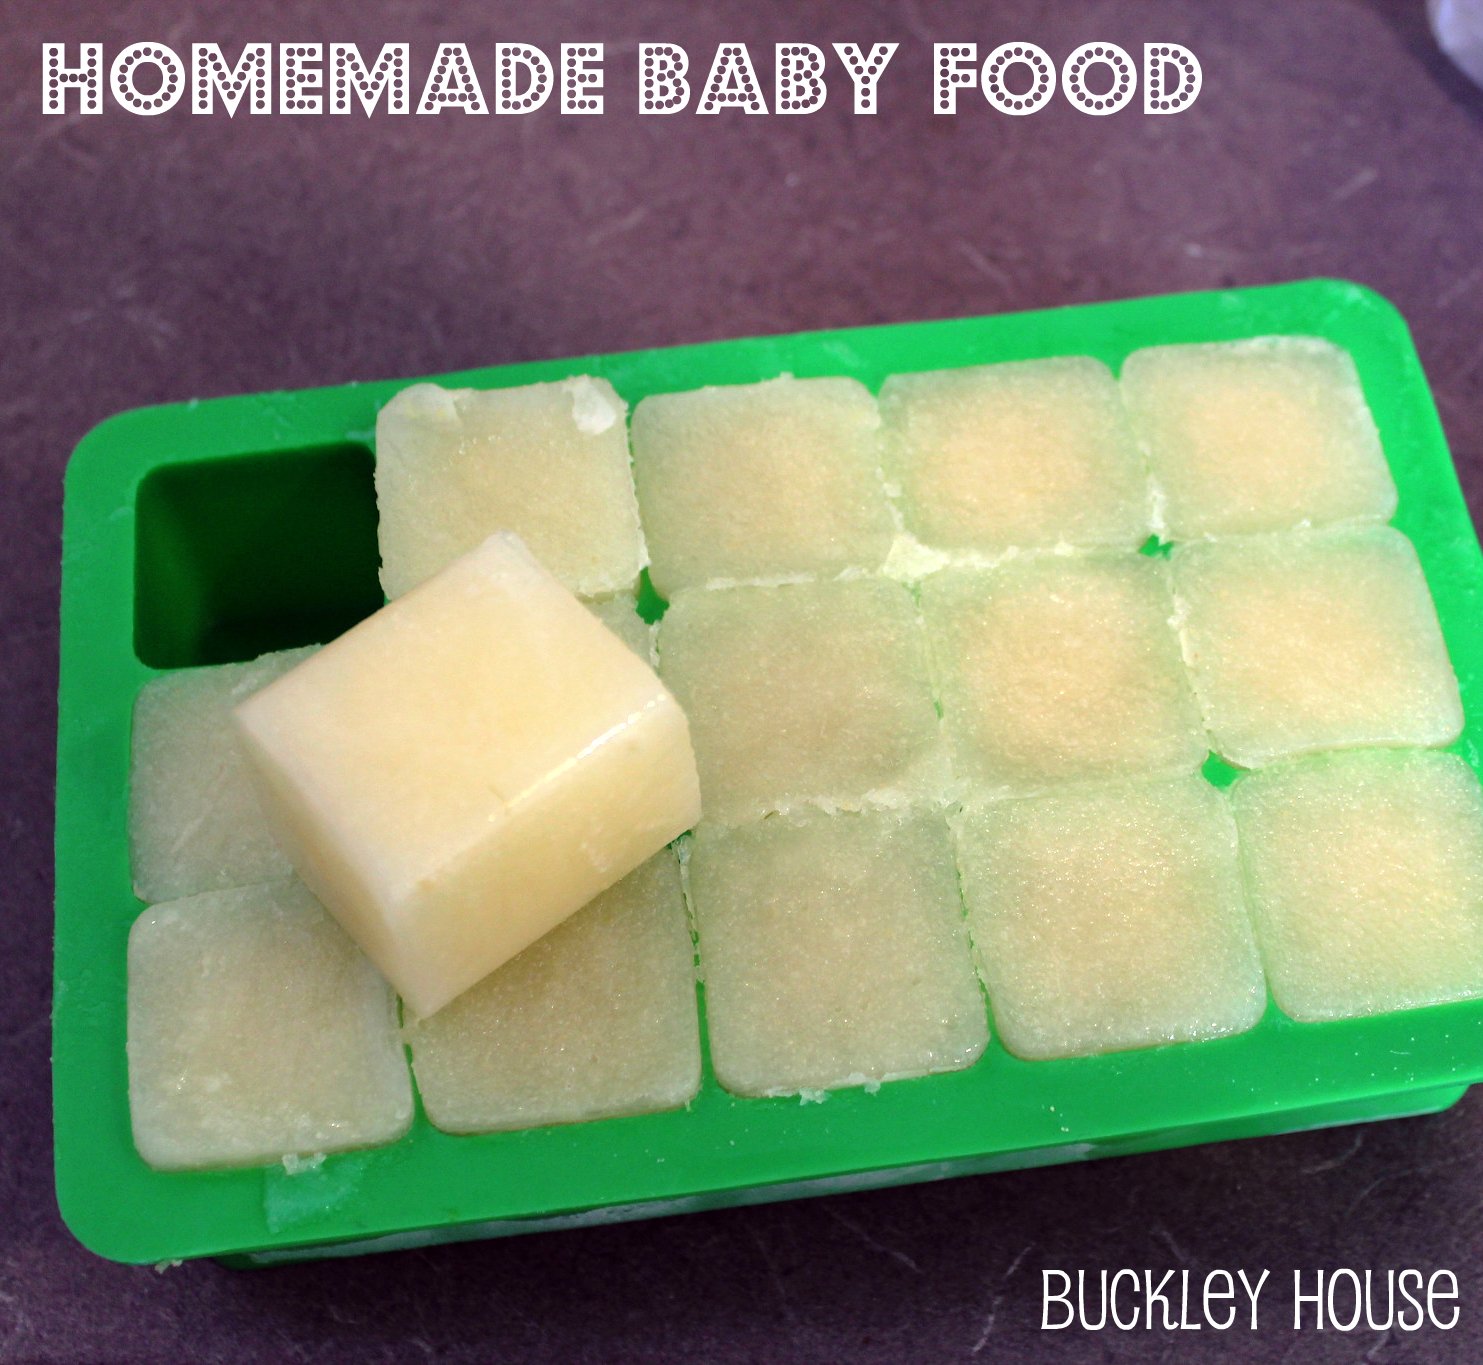
The yellow tray came with the Baby Bullet.  It measures 2 ounce pellet shaped servings that can be easily popped out once frozen.  They fit snugly into single-serve containers or can be stored all together in a regular old Tupperware (see below).  The green tray measures 1 ounce servings that pop out just like an ice cube tray.


store pellets in the freezer and thaw overnight before serving.
 The batch I made today with the food pictured above made about 80 ounces of puree.  In addition to rice cereal, that's enough to feed Little J for more than three weeks. 


Some recipes I'd like to try in the future are:

Banana & Pumpkin
Apple & Broccoli
Pineapple & Squash
Peach, Mango & Watermelon
Cantaloupe & Garbanzo Beans?

For a look at my next baby food adventure, click here!