Showing posts with label House and Home. Show all posts

Thursday, October 24, 2013

Decorating for Fall

Fall is usually my favorite time of year: the cool air, crunchy leaves, scarves and jackets, hearty homemade meals... And I love decorating for this season.  I find significance in the task of pulling down all my summery flowers and brightly colored vases and replacing them with warm orange and brown decorations.  The house feels cozy when it's full of pumpkins, and my mood always shifts in a more positive direction after this symbolic change in decor.

In past years I have felt the urge to buy more fall decorations to suit our current home.  This year we are A) living in the same home as last year, B) on a tighter budget, and C) pregnant.  So the amount of effort I desire to put forth has dwindled a bit... but I still wanted to decorate!

So this is how I added some fall touches to my "normal" decor without spending any money or using up too much of my pregnant energy supply.


Leave usual decor as is, just adding fall items here and there

Add a stem of fall berries to an existing arrangement

Add fall leaves to an existing wreath

Incorporate fall decor amongst usual items on a mantel

I love garlands!

The Autumn sign hanging above my mantel was a freebie - I snagged a nice piece of wood from my dad's garage, glued on some silk leaves (with Mod Podge, of course), and painted on a fall scene.  I used colors and texture that made me think of Autumn in the park.  Once dry, I stapled some twine to the back (with the heavy duty staple gun from my "lady's" tool kit from college) and hung it up!


Saturday, August 24, 2013

Goodbye Summer: Felt Flower Coasters

We're getting to that time of Summer when the heat feels out of place.  I start to get that itch to wear scarves and long pants and snuggle up under a blanket with some hot tea, but the days are still too hot!

And now that pregnancy hormones are preventing my body from regulating its temperature in a normal (sane) way, I'm really ready for some cooler weather.  I can't wait for that crisp, cool edge that Fall breezes carry over your face.  Or the cinnamon and pumpkin scented candles that I have stored with my Autumn decor.  Or, most of all, that delicious, satisfying crunch! of stomping on dried up fallen leaves.  Mmmmmm....

I made a decision yesterday that it was time to give Summer a little hint that I'm ready for her departure... so I made some "farewell, Summer" coasters:


These little babies were super easy and, even though I was sloppy and rather lazy in my cutting and sewing, they turned out pretty cute.

I am a sucker for felt.  I don't know why... maybe it's the HUGE variety of colors, textures and patterns available on that long Hobby Lobby aisle.  But I just never can resist.


So I picked out some cheery colors, doodled up a pattern design and cut my felt.  Felt is awesome for this kind of (lazy) project because it doesn't fray.


I then found some matching cotton fabrics.  This will help to actually soak up the spills/condensation since felt isn't very absorbent...


Since my cotton fabric will fray, I sewed a very tight zigzag edge around the perimeter of the circle.  This is the easiest (laziest) way to do an applique.  And it works fairly well.


I literally conceived, started and finished this project within a single nap time.  These coasters won't hold up nearly as well as my Leaf Coasters have, but they were so easy that I can easily make replacements if necessary.


notice my new water bottle? mmmm...


Wednesday, August 7, 2013

Ruffled Apron

Since the moment I saw that little pink line on our home pregnancy test, I've been crossing my fingers that this baby will be a girl.  I love being a mommy to a boy - Little J is so much fun and, honestly, I know boys (having two younger brothers).  But I am aching to have a child who I can dress in ruffles.  A child who will have dolls that I can dress in ruffles.

Don't get me wrong... I will be thrilled to have a second boy, if that's the case.  I feel so blessed that Little J will have a sibling!  But man, if that sibling comes home from the hospital wearing floral print, I'll be in heaven.

Our "big" ultrasound is coming up in about two weeks, but until then Baby #2's gender will remain a mystery.  So, to keep my girlie hopes in check, I've been making ruffled garments for the little ladies who are already in my life. 

These babies are super simple (but somewhat tedious) to make and only require a little bit of coordinating fabric.  I've made about 6 this year, but still haven't made one for myself for some reason... For the tutorial, click here!


The great thing about these aprons is that they do not require a pattern and can be made in any shape and size. I've even made a couple that include pockets!  These two are 6-year-old-sized.


When I get around to making my own apron, it will be something like this:


Thursday, June 27, 2013

Garden Journal

This is a quick little post featuring an idea I had after planting a whole bunch of new plants and flowers this spring.  I know almost nothing about gardening or landscaping, so this is my beginner's way of documenting what I learn along the way.

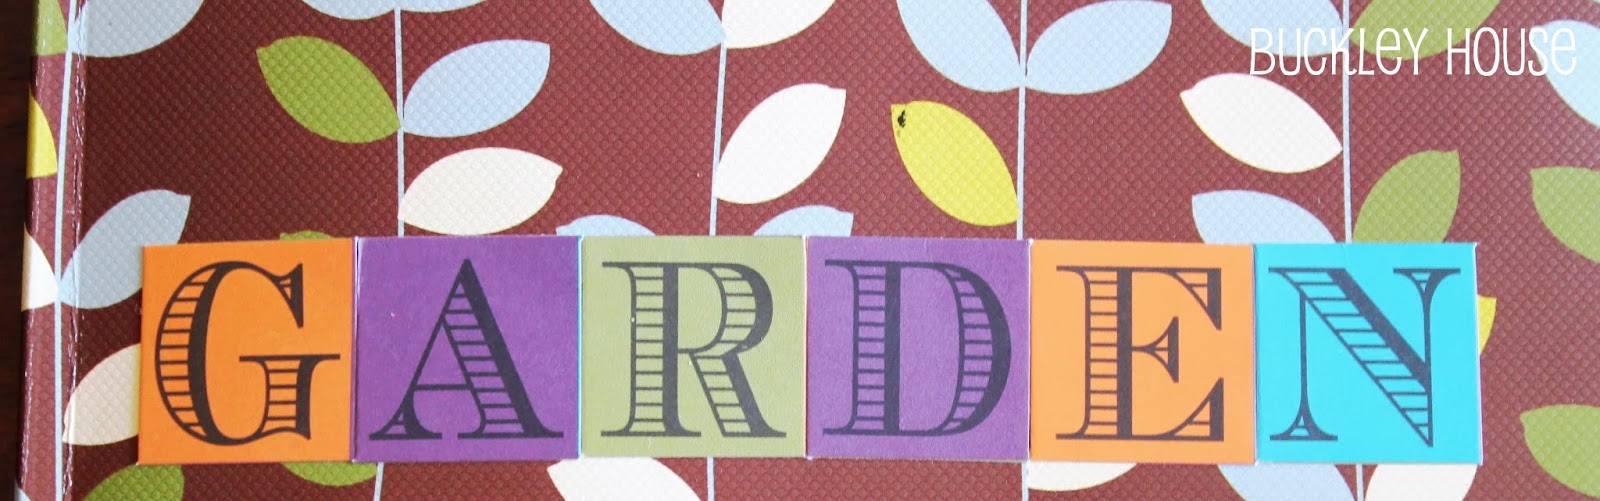
I've seen "garden journals" for sale at Target at prices that I was unwilling to pay.  This is a leftover notebook that I dug out of my office drawer.


I added some colorful stickers to the front (so I remember what the contents of this journal actually are).


I had saved all the flags and packets from my recent plants, so I taped them inside the notebook.


This left me some room to take notes for future reference.  I am hoping this will help me to expand my gardening knowledge each year.


Wednesday, June 26, 2013

Burlap Wreath

During the past couple months, I've been understandably busy.  Too busy, in fact, to post anything on my blog!  I've seriously missed the tap-tapping of my keyboard (and the necessary strategic laptop positioning now that Little J has discovered the joy of banging on the keys as well). But, while I haven't been posting anything, that by no means implies that I haven't been planning blog posts.  I have my trusty camera by my side anytime I embark on a crafty mission.  This is one little gem I had some time to complete a few weeks ago.

I found this old wreath that I had made last year.  It was in our garage sale pile, but I had a stroke of inspiration when I spotted it...  I wasn't wild about the tulle (since the rest of my decor tends to be on the more casual side).  I admit, it was slightly painful to cut off all the fabric that I had so diligently hot-glued on a year ago, but the result is much more in line with the rest of my decorations. 


I wrapped the entire thing with some inexpensive burlap fabric that was leftover from my Halloween party last year. I had to use a combination of hot glue and straight pins to keep the fabric in place (especially since I chose to incorporate a fancy little bunching technique).
 

Once the burlap was in place, I tied some green ribbon around the top and bottom.  I strung the top ribbon through a clear plastic ring (that I inexplicably saved from a scarf that Jared bought me).  Since I couldn't find an extra long wreath hook, this was the best idea I could come up with for hanging the wreath from our extra tall front door (from a little hook that I screwed directly into the door).


Here's a little sneak peek of my new wreath in action before Little J's birthday party.  Check back for my post featuring his Up themed party!


Thursday, May 16, 2013

Meal Planning for the Drive-Through Addicts

As I'm sure you could tell, I've been much too busy for blogging lately.  May is the craziest month in the Buckley House - last year we were gearing up for our first baby and the year before that, May was a busy wedding planning month.  This year we have an adventurous (almost)toddler, two wild puppies, a house, yard, etc.

When every weekend is full, we have to make a special effort to be productive during weekdays.  This has always been difficult for me - I love my downtime, especially when Little J is napping and the whole house is quiet for once.  But because the Babe is so much more mobile these days, I have to provide him almost constant supervision (plus, I really love playing with him!) so I have to utilize naptimes more efficiently.

Today, I put my 45 minutes of morning nap/quiet time to good use.

Jared and I have always struggled (for the past 4 years) with meal planning.  Every night we play the "what do you want for dinner?.... I don't care, what do you want?" game.  This game always lands us in the same place:  Taco Bell.  Or Panda Express.  Or Chick Fil-A.  Regardless of the restaurant, we always seem to find excuses to forget any pre-planned meals at home and go through a drive-through.  "This needs to end!" we say every week.  Our wallets (and thighs) are suffering, but mostly I just can't handle the guilt of being such bad Eating Role Models for our child.  So, for reals this time, it ends now!

Here is the first part of my brilliant solution:

Weekly meal planning made easy.  It's just a start - to get us back into the habit of eating most of our meals at home.  I decided we would be more likely to succeed if I kept things simple and easy for now.  Instead of planning exactly what I'll cook each weeknight, I will plan for certain genres of meals.  "Pasta" could mean spaghetti, or mac and cheese, or casserole, or Top Ramen.  I'm hoping this will ease us into a lifestyle of successful meal planning.


I used some scrap paper I had on hand and cut strips for my weekly calendar, as well as some little squares for the meals


I had an old magnet that I cut up into pieces and stuck to the backs of my squares with double-sided tape.


I also attached magnets to the backs of my week strips.


And hung them in plain sight on the fridge! The meal squares can be moved around depending on our moods any particular week.  Or I can add new ideas if I choose. 


I also made a weekly calendar for chores (because I'm a procrastinator and I always put off cleaning the bathrooms).  This way I can hold myself accountable.  Do the chores on their assigned days!

Monday, May 13, 2013

Our (Low Budget) Backyard Project

At the end of March we celebrated the 1-year anniversary of owning our house.  I still feel secure in our selection- this house is just the right size for our growing family and the location is great.  And, since neither Jared or I are super "handy" when it comes to demolition or construction, this house was a perfect fit: no major "fixer-upper" projects! 

We will eventually make some upgrades, of course.  Our kitchen counter was trashed by the previous (and apparently pyromaniac) owners.  And I'd love to add crown molding in every room :) 

But we had one rather urgent upgrade to make.  This house was once an infamous Model Home, which for some reason meant that it was built with only a 2x2 foot square of cement for the backyard patio.  Jared and I were unable to stand side by side on this "stoop," let alone grill delicious steaks or enjoy a glass of wine or watch Little J frolic in the grass.  So we had to do something, even though we had very little money budgeted for such a project. 

So we began clearing the rocks to make way for our tiny little patio addition.  

Zooey watches from indoors
And Little J watches from his shady lounge chair


We purchased 40 square feet of these lovely pavers - and at 17 pounds apiece, we got quite the workout moving them from car to yard.  I'll spare you the boring details, but here's what we accomplished spending under $150 (with only a few hours of labor):

We used chairs that we already had, saving us about $40
Hobby Lobby had outdoor decor 40% off this week, saving us even more $!


Our puppies enjoy a little stroll on the new patio.  


And Jared enjoys a little time with his grill.
 

The more boring aspects of our yard makeover involved some potted plants, wild Tentacula removal, and tree installation!

This horrible bush (which I have dubbed "The Tentacula") had to go.  Immediately.  I just knew that someday it would house a family of snakes, and that thought made me sick enough to rip the whole thing out as soon as I could.


We were also itching to improve the view from our back door. This is the gorgeous landscape that we have enjoyed for over a year:

BEFORE
AFTER
We hope our little peach tree will grow fast enough to block the street view from our sight.  Notice that the Uhaul in the "after" picture is at a different house than the "before" picture.  See why we want to create a little privacy for our back door?

And finally, I moved the lounge chair that the previous owners abandoned in our side yard to the front porch to accompany my new potted hydrangeas.


 Someday we will save up enough money to build a nice deck.  Or a new house (wink, wink).  But until then, we are thrilled to have a little space to sit outside and enjoy our backyard.