Wednesday, July 17, 2013

"Up" Birthday Party

Little J doesn't watch a lot of TV yet, but Jared and I went ahead and assigned him a "favorite movie."  We like to think we know him pretty well, so our choice was easy:  Up!

This movie captured our hearts (and makes me sob uncontrollably - Jared too!) and was an obvious pick for our Babe's first birthday party theme.

I wanted to keep things simple (and inexpensive) so I focused on the balloon motif as my decorating inspiration.  We bought roughly 100 balloons, and foregoing the expensive helium tank rental, blew them up ourselves.  Because they weren't the "floaty" kind of balloons without the helium, I fond some balloon sticks to keep them upright. This was a fun process for everyone (except our sensitive puppies) and got us really geared up for the big party!


I knew that the balloons wouldn't be quite enough to represent our movie theme, so we got to work recreating the beloved "Karl & Ellie" mailbox.  My full mailbox project can be found here.  With the addition of some travel-themed decorative elements, I had my cupcake display table!


These are my favorite cupcakes (Jared teases me for advertising these "made from scratch" yummies).  The full recipe can be found here.  They are delicious.  I'm not kidding.


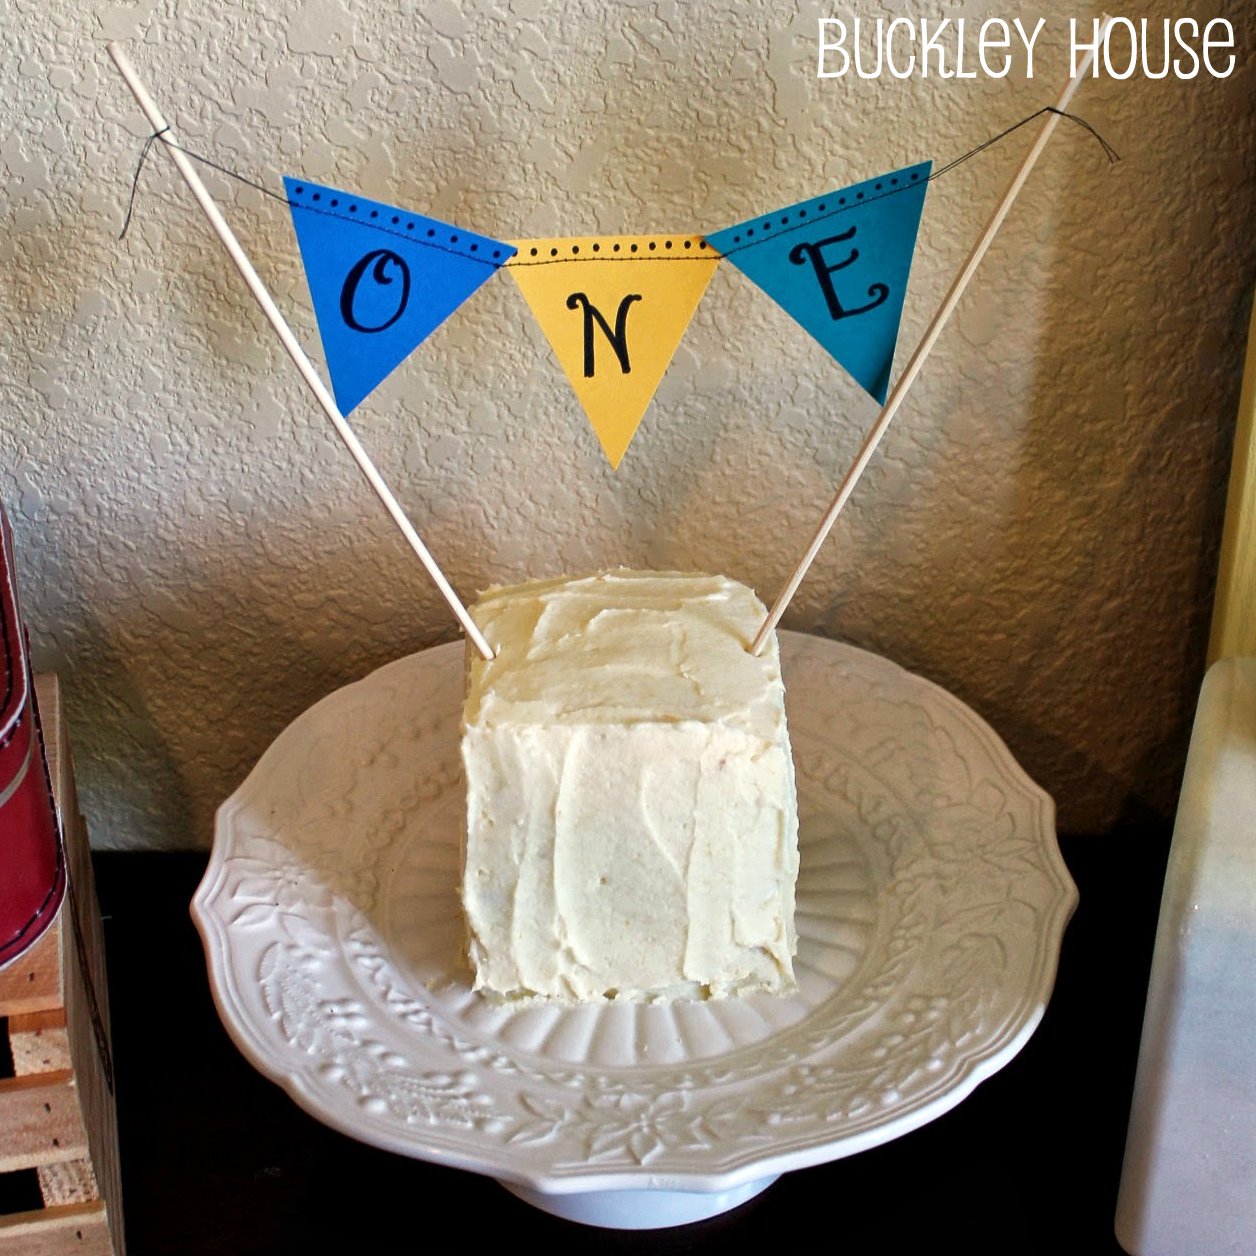
This little "personal" cake was meant for Little J to consume/smash/smear/throw during his party, but I lost track of time... and my Peanut's little cake ended up getting eaten by Jared.  But that's fine - he earned it after all the help and support he gave me during the party-prep process.

This final project was my pride and joy.  My full tutorial (competing with the amazing Martha Stewart) can be found here.  I can't emphasize my self-pride enough on this one.  This was a tricky project for me.


This party was a blast.  I look forward to planning birthday parties for my little ones every year!

The birthday boy and his sweet Nana


Mini Cupcake Balloons


This project was extremely time-consuming and frustrating - not at all how I expected after seeing the original idea from Martha Stewart.

D109396_Balloon_Cake_088

I bought my water balloons and wooden skewers and started getting really excited about how cute these little babies would turn out.  But no matter how I tied the balloons around the sticks, they looked like this:


I tried so many alternative options (and wasted a lot of time and materials) but I was determined to make it work! 

Finally, I discovered a solution:

Step 1: Blow up water balloons and tie off. 


Step 2: Then trim the bulky, rolled-up part at the opening.


Step 3: Tie a piece of string above the knot.  The string must be longer than the coffee stirrer (which I used in place of skewers).


Step 4: Thread string through coffee stirrer and pull until knot becomes tightly wedged inside the straw.


Step 5: Trim off any excess string that sticks out of the straw.  The knot of the balloon is so snug inside the coffee stirrer that I promise the balloons won't detach easily.


My full "Up" Birthday Party post can be found here! Check it out!


Buckley Mailbox

This project was inspired by the "Karl & Ellie" mailbox from our favorite Pixar movie, Up!  This was a fun adventure for my little family, since it involved paint coming in contact with Little J's skin.

I found a really inexpensive (but sadly, plastic) white mailbox on Amazon.  I was really bummed by just how plastic-y it looked in person, so I played with some spray paint and came up with a solution.  I used a combination of a pearlescent white paint and a very shiny clear coat spray.

Before my spray paint treatment
protecting the little red flag from spray paint

Once the paint was dry, we got to work choosing our handprint colors.  I tried to keep our color scheme as similar to the movie mailbox as possible.  I mixed our colors myself, using acrylic (water-based) paint.  I absolutely do not recommend using oil-based paint for this kind of project, because it cannot be easily washed off of skin with water (it will usually require paint thinner).  Since my little baby was involved in the paint process, it was especially important to have easy cleanup :)

After our handprints and fancy writing dried, I sprayed the whole thing one more time with my clear coat spray.  This will protect our paint job from getting rubbed off or chipped.

The final product:


My full "Up" Birthday Party can be found here!  Check it out!

Thursday, June 27, 2013

Garden Journal

This is a quick little post featuring an idea I had after planting a whole bunch of new plants and flowers this spring.  I know almost nothing about gardening or landscaping, so this is my beginner's way of documenting what I learn along the way.

I've seen "garden journals" for sale at Target at prices that I was unwilling to pay.  This is a leftover notebook that I dug out of my office drawer.


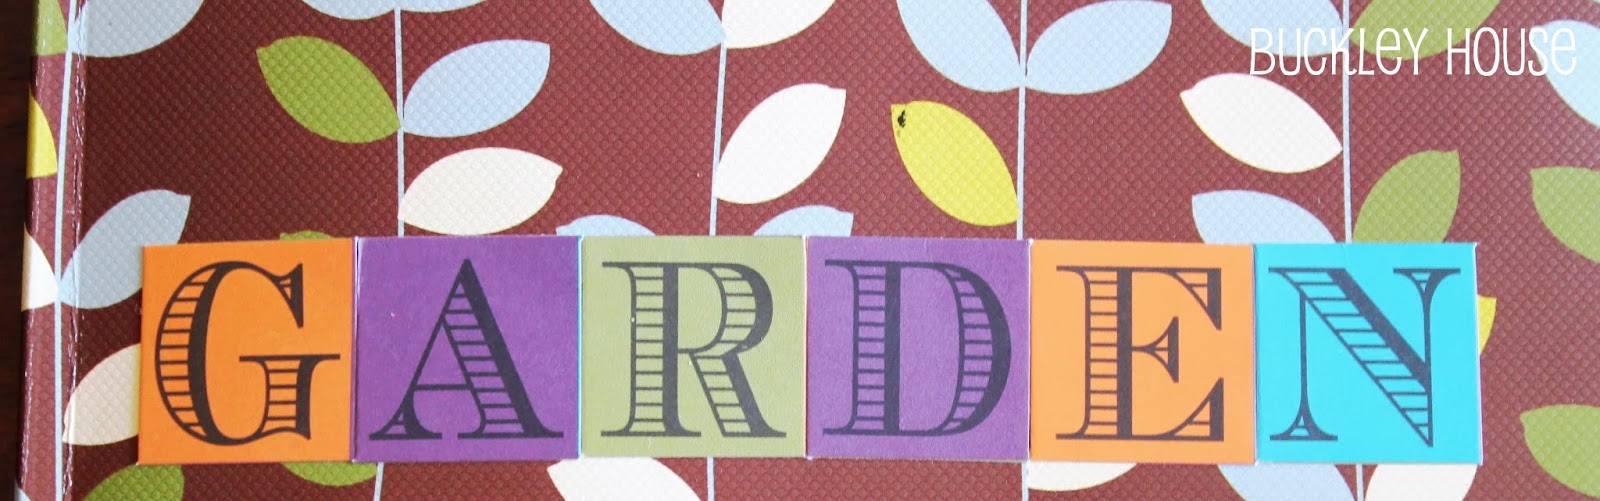
I added some colorful stickers to the front (so I remember what the contents of this journal actually are).


I had saved all the flags and packets from my recent plants, so I taped them inside the notebook.


This left me some room to take notes for future reference.  I am hoping this will help me to expand my gardening knowledge each year.


Wednesday, June 26, 2013

Burlap Wreath

During the past couple months, I've been understandably busy.  Too busy, in fact, to post anything on my blog!  I've seriously missed the tap-tapping of my keyboard (and the necessary strategic laptop positioning now that Little J has discovered the joy of banging on the keys as well). But, while I haven't been posting anything, that by no means implies that I haven't been planning blog posts.  I have my trusty camera by my side anytime I embark on a crafty mission.  This is one little gem I had some time to complete a few weeks ago.

I found this old wreath that I had made last year.  It was in our garage sale pile, but I had a stroke of inspiration when I spotted it...  I wasn't wild about the tulle (since the rest of my decor tends to be on the more casual side).  I admit, it was slightly painful to cut off all the fabric that I had so diligently hot-glued on a year ago, but the result is much more in line with the rest of my decorations. 


I wrapped the entire thing with some inexpensive burlap fabric that was leftover from my Halloween party last year. I had to use a combination of hot glue and straight pins to keep the fabric in place (especially since I chose to incorporate a fancy little bunching technique).
 

Once the burlap was in place, I tied some green ribbon around the top and bottom.  I strung the top ribbon through a clear plastic ring (that I inexplicably saved from a scarf that Jared bought me).  Since I couldn't find an extra long wreath hook, this was the best idea I could come up with for hanging the wreath from our extra tall front door (from a little hook that I screwed directly into the door).


Here's a little sneak peek of my new wreath in action before Little J's birthday party.  Check back for my post featuring his Up themed party!


Tuesday, June 25, 2013

I'm Back!

I've missed you, little blog!  It's been a busy, hectic time at the Buckley House lately.  We've had a lot to celebrate and have enjoyed spending lots of time with our family and friends.

We celebrated a wonderful baptism...


looking cheesy as always
A graduation...

typical buckley-blink...
  A super fun 1st birthday...


and Up birthday party...

check back for my Up Party post!

A very special 80th birthday party...


And of course, there are still exciting celebrations to come this summer - vacations, reunions, birthdays, weddings...  But the most exciting, wonderful event in our future will be the arrival of this little package in January of 2014!


Thursday, May 16, 2013

Meal Planning for the Drive-Through Addicts

As I'm sure you could tell, I've been much too busy for blogging lately.  May is the craziest month in the Buckley House - last year we were gearing up for our first baby and the year before that, May was a busy wedding planning month.  This year we have an adventurous (almost)toddler, two wild puppies, a house, yard, etc.

When every weekend is full, we have to make a special effort to be productive during weekdays.  This has always been difficult for me - I love my downtime, especially when Little J is napping and the whole house is quiet for once.  But because the Babe is so much more mobile these days, I have to provide him almost constant supervision (plus, I really love playing with him!) so I have to utilize naptimes more efficiently.

Today, I put my 45 minutes of morning nap/quiet time to good use.

Jared and I have always struggled (for the past 4 years) with meal planning.  Every night we play the "what do you want for dinner?.... I don't care, what do you want?" game.  This game always lands us in the same place:  Taco Bell.  Or Panda Express.  Or Chick Fil-A.  Regardless of the restaurant, we always seem to find excuses to forget any pre-planned meals at home and go through a drive-through.  "This needs to end!" we say every week.  Our wallets (and thighs) are suffering, but mostly I just can't handle the guilt of being such bad Eating Role Models for our child.  So, for reals this time, it ends now!

Here is the first part of my brilliant solution:

Weekly meal planning made easy.  It's just a start - to get us back into the habit of eating most of our meals at home.  I decided we would be more likely to succeed if I kept things simple and easy for now.  Instead of planning exactly what I'll cook each weeknight, I will plan for certain genres of meals.  "Pasta" could mean spaghetti, or mac and cheese, or casserole, or Top Ramen.  I'm hoping this will ease us into a lifestyle of successful meal planning.


I used some scrap paper I had on hand and cut strips for my weekly calendar, as well as some little squares for the meals


I had an old magnet that I cut up into pieces and stuck to the backs of my squares with double-sided tape.


I also attached magnets to the backs of my week strips.


And hung them in plain sight on the fridge! The meal squares can be moved around depending on our moods any particular week.  Or I can add new ideas if I choose. 


I also made a weekly calendar for chores (because I'm a procrastinator and I always put off cleaning the bathrooms).  This way I can hold myself accountable.  Do the chores on their assigned days!