Monday, April 22, 2013

Mug Brownies

We love Colorado.  I can't emphasize that enough. 

We also love Colorado's annual winter encore (usually right around my birthday at the end of March), but this year we enjoyed 18 inches of snow, beginning on April 15th.  When it snows this late in the spring, it's almost like a second chance at the holidays.  So this year, we celebrated our snowstorm with desserts.

Little J is a bit too small for snow shoeing, so we admired the fluffy day from inside our warm, chocolatey kitchen.


Since the snow continued to fall for several days, we had multiple opportunities for snuggly, sugary celebrations as a little family.  My favorite dessert to make (and by far the easiest that I know of) is Mug Brownies.


These are sooooo easy and always end up tasting delicious.  And, since there are no eggs in the recipe, the batter can be consumed raw (if you're really in a hurry for something sweet)!

Ingredients:

1/4 C. Sugar
1/4 C. Flour
2 T. Cocoa
Pinch of salt
2 T. Oil
3 T. Water


Directions:

Mix dry ingredients in mug.  Once combined, mix in wet ingredients (I switch off between olive oil and vegetable.  I can't taste the difference, honestly).  Mix very well. Once smooth, scrape down sides of mug and microwave for 2 minutes. Mug will likely be very hot.  Use caution when removing and allow to cool for a couple minutes before devouring. 


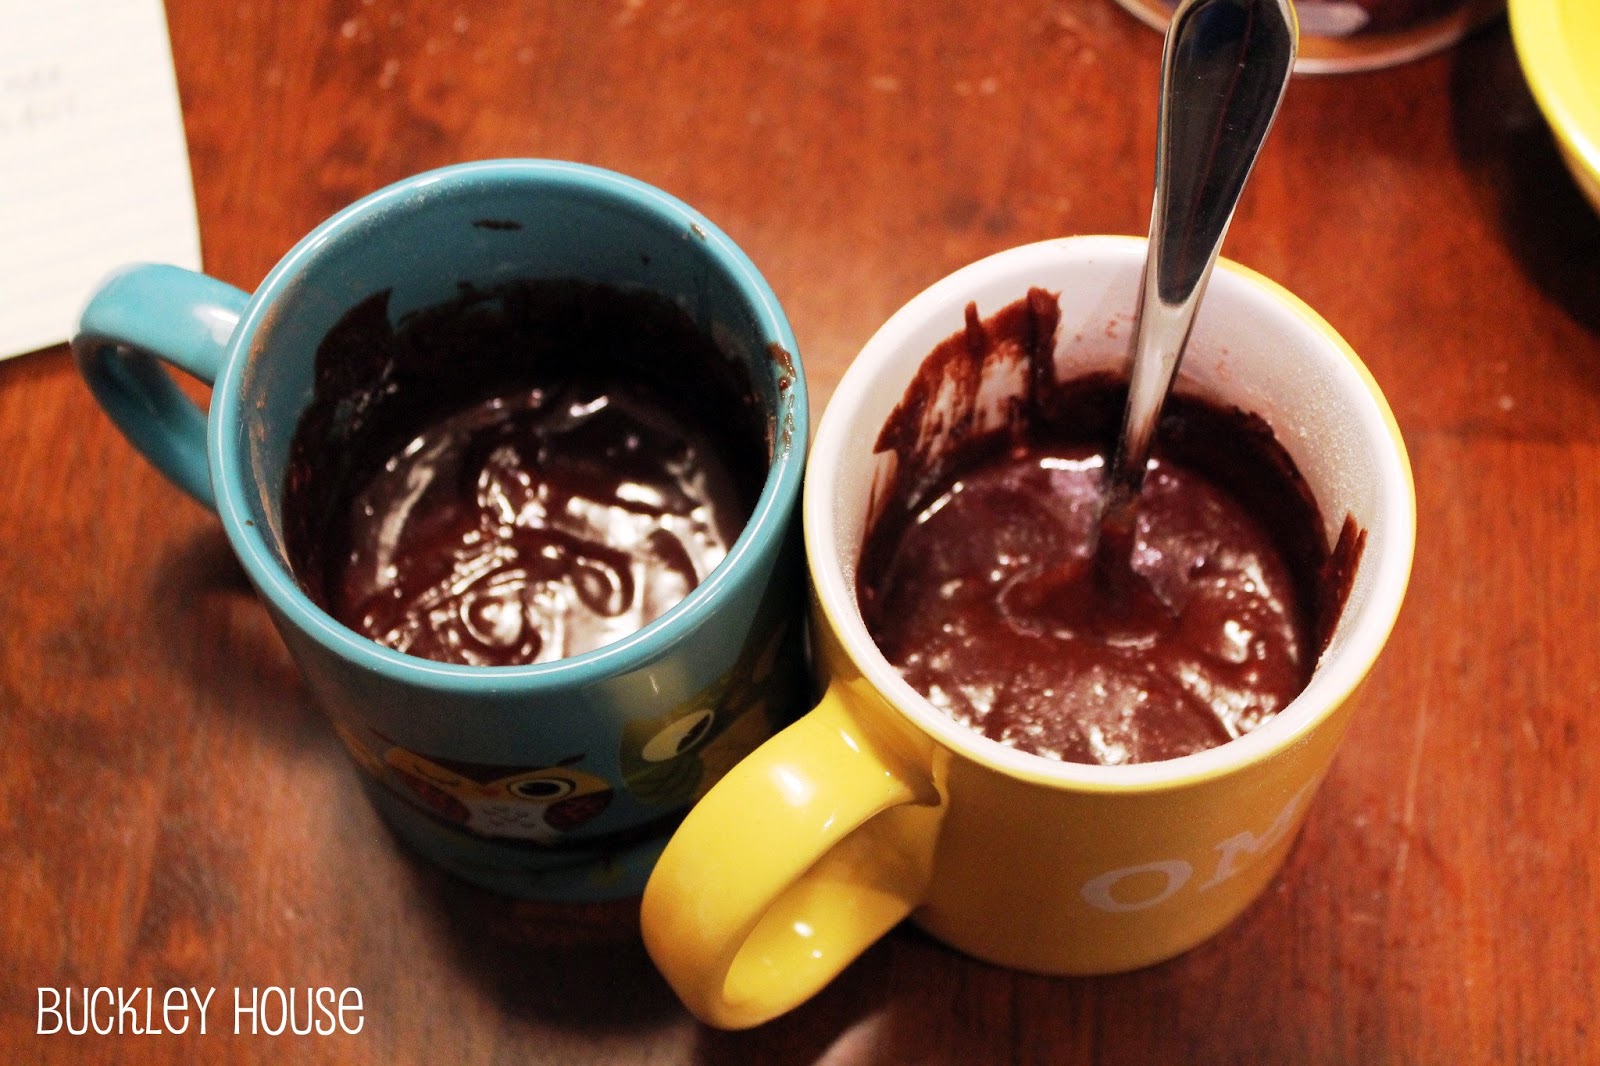
Seriously, mix the batter really well.  Otherwise you may end up with a really salty bite right at the bottom and be left with such a salty taste in your mouth that you are forced to bake another brownie to wash down the salty flavor.


After the brownie has cooled slightly, I add some chocolate syrup right over the top.  It will melt and ooze down through the brownie (making it super duper moist and rich).  I've also done this with caramel syrup - equally heavenly.


Then I pull out some of my favorite fridge friends.  This step is never necessary (but trust me, it's worth the extra calories).


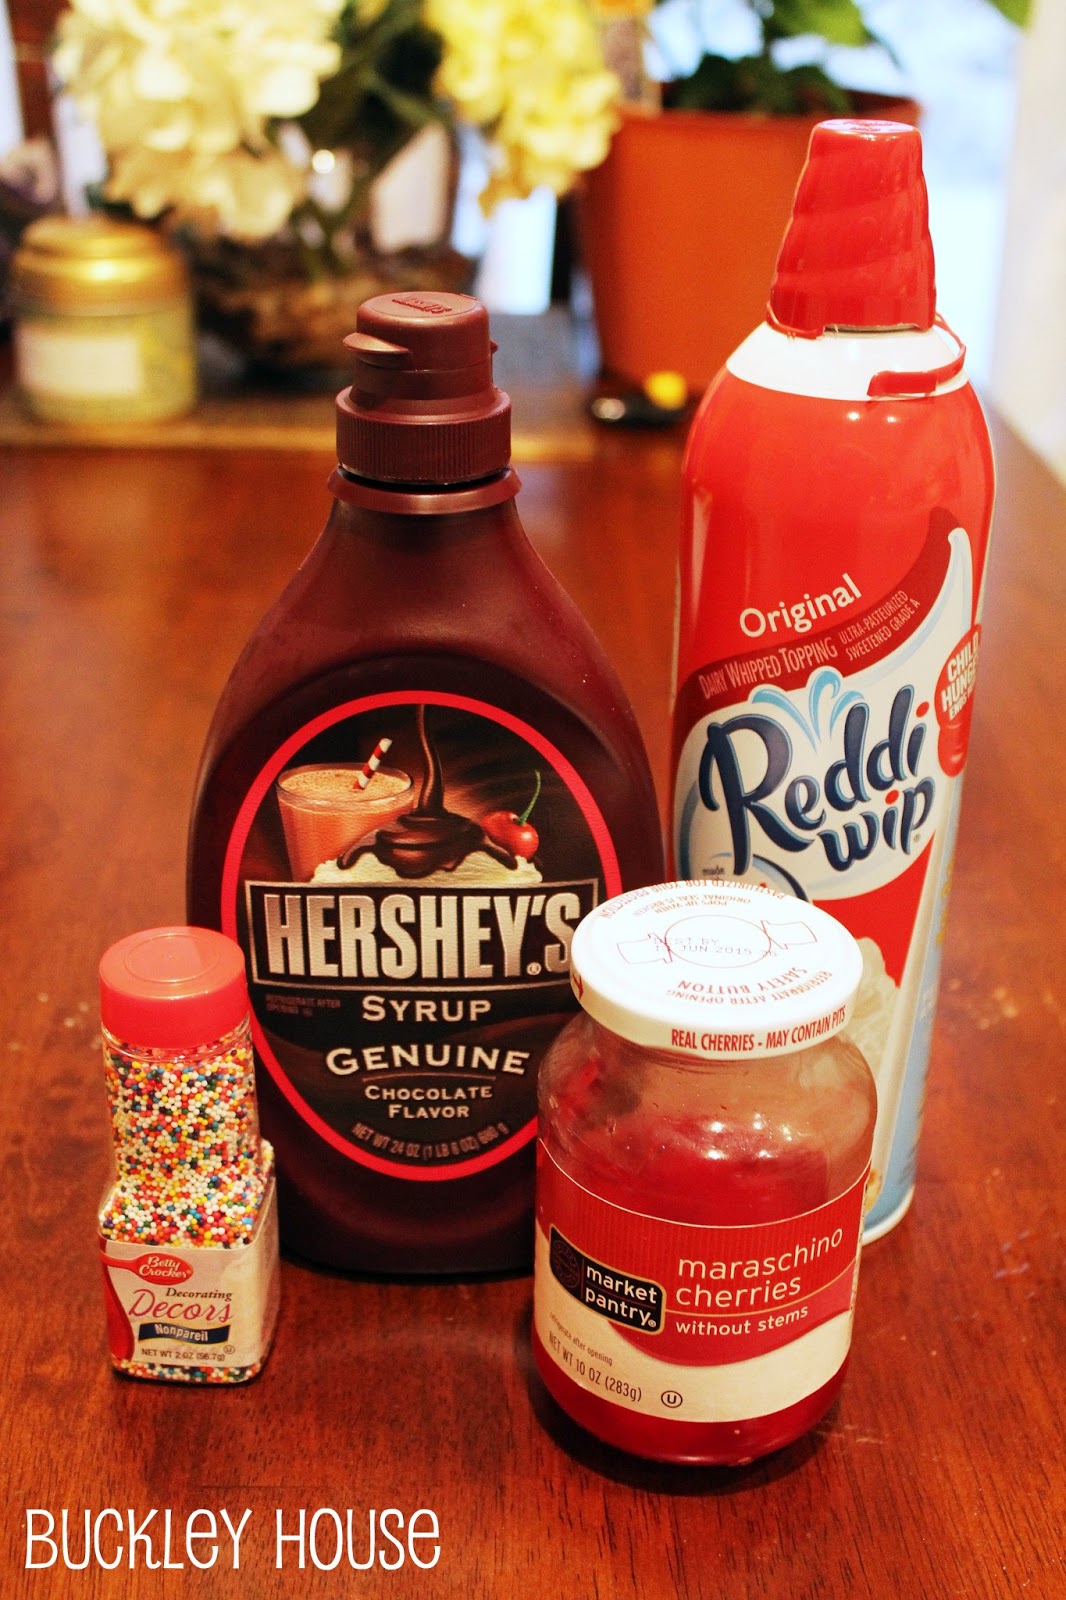
I make our brownies as pretty as I can, because once we dig in they don't last very long.   And they were mmmmmm... perfect for a snowy day indoors.  I can't wait till Little J is old enough to enjoy this treat!


Sunday, April 21, 2013

Leaf Coasters

Jared and I like to define ourselves as a "balanced" couple.  He's analytical and mathematical, while I'm more creative and emotional.  Jared thrives on routine... and I forget to lock the front door on a regular basis.  We are alike in so many ways, but our differences allow us to simultaneously challenge and support each other. 

One thing we have in common, though,  is a distaste for spending large amounts of money on furniture.  Yes, I will pass up garage sale furniture that is priced over $20.00, even if it's something nice.   I've had the same mattress since I was a pre-teen and almost every major furniture piece in my house was a hand-me-down from somebody.  My previous coffee table was a clearance find and wouldn't have scored higher than a D- in a quality test. 

I believe our aversion to buying more expensive furniture comes from the fact that we (I) have a terrible fear of ruining nice things.  So when we were lucky enough to inherit a gorgeous coffee table and end table from my parents a couple years ago, I vowed to do my best to preserve the beautiful wood finish.

As part of my preservation effort, I made several cloth coasters.  If you know me really well, you'd know that at any given time I am probably in the process of finishing several different beverages at once.  Check out my Instagram for the evidence!

This is the set I made a while back - cotton on top of felt.  They are slip-proof and prevent moisture from seeping through to the tabletop.


But they got attacked... Puppy teeth are unkind to fabric.  And in our house, anything on the coffee table is within throwing reach of the babe.  Wonder why our remotes are always all over the floor?  Pitching practice.


I've been wanting to replace these for a while anyway, so this was just the motivation I needed to begin.  I had recently made a leaf-shaped "potholder" for the kitchen and I loved the fabrics I had chosen for that:

It's not going to ever hold a pot, I guarantee.

I chose 4 of my favorite coordinating greens, as well as 3 different shades of green felt for the backing.

I cut my felt first - into leaf shapes, making sure they would be big enough for a glass to sit on (allowing 1/4" on all sides for the seams).


I cut my top fabrics, pinned and sewed ("pretty" sides together) with a 1/4" seam allowance and a 1" hole for turning inside-out.  Once I turned my leaves, I sewed around the perimeters to close the 1" opening, and to help them keep their leafy shape.


I went back and added "leaf veins" to embellish the design (they remind me of something I probably drew with crayon as a kid).


This additional sewing will also provide some function as well as decoration to my coasters.  They will retain the leaf shape, even when washed (or chewed on by dog/babe).


I'm pleased with how they turned out.  And before you jump to any conclusions about my literary expertise... I have not yet read The Hobbit.  But it sure has a pretty cover :)


These coasters could certainly be made in any shape, with almost any fabric.  And since they are so easy and inexpensive to create, I won't feel terrible dismay when the likely occasion arises that they become stained, or ripped, or lost, or chewed on...


Tuesday, April 16, 2013

First Aid Kit

I don't have a lot of interest in horror movies, but I have to admit that Jared and I are avid zombie fans.   We watch the Walking Dead every Sunday night and a large portion of our DVD collection has some sort of zombie apocalypse theme.  The zombie disaster story has always been an interesting idea to me - the thought of a (so far) nonexistent threat to society gives me a strong desire to prepare my home for catastrophe.

My practical father instilled in me many useful sensibilities.  I learned from him how to research effectively, which is how I came upon the website of the Center for Disease Control and Prevention.  The CDC has many recommendations for how to prepare your family and home for disaster situations.  While reading the site kind of frightened me, it mostly made me realize the importance of preparedness.  I have the beginnings of a Disaster Kit in our hall closet, ready to be toted to the car in case of evacuation.  This is what I have so far:


Now, I understand that 4 gallons of water and a flashlight aren't going to get us very far... it's a work in progress!  The first and most important piece of the Disaster Kit that I wanted to assemble was the First Aid Kit.


I bought a small First Aid Kit to keep in our car for $4.00 at Target.  I liked the contents, but wanted to put together something more substantial to keep in our house.


I found a couple of First Aid Kit checklists online, but they just weren't exactly what I was looking for.  I also found this list on the CDC website (Travel Health Kit) that was somewhat helpful.  But mostly I just wanted to put together something entirely custom to my family's needs. I only had to buy a few things - the rest I borrowed from the kit I bought or I already had in my home.  Most of the pills and liquids I was able to store in travel containers or pill bottles that I had stashed away for just this purpose.

My First Aid Kit:


A. Vinyl Gloves
B. Gauze (non-sterile squares and 3 sterile packs I stole from the Target Kit)
C. Assorted sizes of bandages
D. Cotton Swabs
E. Antibiotic Ointment
F. Alcohol Swabs (also stolen from the Target Kit)
G. Alcohol Spray
H. Thermometer
I. Sunscreen
J. Aloe Vera Gel
K. Hand Sanitizer
L. Tweezers
M. Tissues
N. Medical Tape
O. Ibuprofen
P. Acetaminophen
Q. Benadryl (Jared has several food allergies, I always have this on hand)
R. Baby Tylenol
S. Pocket Knife
T. Sewing Kit (including needing, thread and safety pins)


I fit everything into a plastic case that I had saved from something else (see, hoarding pays off!) and taped a label into the top.  I also wrote a list of the contents of my kit on the interior, for future reference (when I need to restock).

Keep in mind, the contents I chose are ones that I find important - they are intended to suit my family and our personal needs.  Also, bear in mind that the only items that are sterile are the ones that are pre-packaged (the gloves in a baggie, for example, are not sterile).  Since I won't be performing any surgery, this is fine.  My First Aid Kit is intended to serve as a temporary remedy for minor injuries.


Now we are ready for anything!  Well, except actual zombies...  This First Aid Kit will live in our hall closet, poised and ready in case of injury - and portable enough to grab in case of evacuation.  Stay tuned for my finished Disaster Kit!

Friday, April 12, 2013

Paper Bunting

Having a job these days is something of a blessing.  And the kind of job that Jared has is really special.  I feel so thankful to him for making it possible for me to stay home and make a career out of raising our son.  If I can be a mom forever, I will throw a party.  But if I were to ever find it necessary to work again, I have collected a small list of options:

1. Interior Designer
2. Photographer
3. Baby Snuggler at Hospital Nursery
4. Puppy Snuggler at Humane Society
5. Dessert Tester at Culinary Academy
6. Professional Organizer
7. Professional List-Maker
8. Party Planner

The last selection excites me, while at the same time terrifying me.  I love parties - the decorations, the snack foods, the invitations, the desserts... but socializing and people-pleasing doesn't come very naturally to me.  I know, I know... it's something that can be learned.  But that doesn't make it any less frightening!

Until the day comes when I would need to actually consider an income potential, I will just focus on throwing parties for myself.

I'm constantly flipping through magazines and browsing pinterest for fun party decor.  I have thousands of ideas and inspirations that I'm afraid I'll never get to use, so I try to incorporate them into daily life.  Jared and I celebrate special occasions with desserts and finger food, and I decorate our home with party-type furnishings, like this paper bunting.


I use these for actual parties as well, because they are so easy to make and can be customized for any season.  I was especially pleased with one that I made for my Halloween party last year, with a variety of spooky scrapbook papers.


I wanted this bunting to have a more rustic feel, so I strung my paper together with twine that I left very visible.

My new spring bunting needed a different feel.  I wanted it to look more tidy and clean - and fresh, like springtime.  Here's how I accomplished this:


Cut template.  This triangle is as tall as it is wide, but almost any triangular proportion would work for a pennant.


Trace triangle onto paper selections.  I traced my shape onto the back so that my pencil lines wouldn't show after cutting.


Cut!  I used my fancy plastic paper cutter for speedier, tidier cuts. This is the same paper cutter that I used to handmake our 180 wedding invitations and 180 wedding programs a couple years ago.


Here are my finished triangles.  I picked color-coordinating paper to match the color schemes in my home (with some additional pinks for a "springtime" feel) and arranged them in the order I wanted.


I sewed my triangles together (this is also how I bound my wedding programs in 2011) allowing my paper to hang securely and evenly, with a nice curve. 


See that picture frame?  I cut a 4x6 inch piece of the "Colorado" page from an old atlas I bought at Goodwill. This is a sweet little way to recognize the cities where we each grew up, where we met and where we live now. 


Thursday, April 11, 2013

Cardigan Onesie

Jared refuses to let me dress him.  He will not be my life-sized Ken Doll, which bums me out... so until Little J catches on, I plan to dress him however I want to!

Vests and cardigans are my top choice when I want to put the Babe in something cute.  People joke that all we need to add are a tiny pipe and a glass of scotch to complete the baby-gentleman's ensemble.  Little J prefers a pacifier and sippy cup of apple juice, so we'll stick with that for now.

Correct me if I'm wrong, but I don't believe major retailers carry onesie cardigans... so I've been making my own!

I'm by no means a sewing expert - I like to employ a "trial and error" type of method when completing projects.  You'll see...

When the Babe was younger, I found a picture online of an adorable baby romping around in a cardigan onesie.  And I wanted it! (the cardigan, not the baby) This was my first attempt at recreating the classy outfit:

I don't always pose for photos... but when I do, I work it.
Obviously my Young Chap couldn't even sit up by himself at this point, so it's no surprise that this cardigan no longer fits.  Here is my latest version:

I started with a $1.49 onesie from Goodwill (washed and tag removed).

I didn't use this binding after all.  It was the wrong kind :(
This process is tedious and time-consuming (and usually really frustrating).  I don't recommend it if you are unfamiliar with sewing stretchy fabrics or binding.  But truly, I am no expert and it wasn't too difficult for me.

Step by step:

1. Find the overlapping fold on the shoulders that is meant to help baby's huge noggin squeeze through the neck hole.  Pin and sew shut. (Not all onesies have this).


2. Find the middle of the shirt.  Mark this spot and cut from top to bottom on the front.


*TIP* This time I left the part with the snaps intact.  They are a pain to sew around, and I always end up sewing the cardigan shut anyway, so I didn't cut my opening the whole way down the front of the shirt after all.

3. Cut the "V" in the neckline.  I folded my shirt so I could cut both sides at once and keep them symmetrical.


4. Pin binding to edges.  I used is double-fold binding, but I got lazy and did not attach it in the "proper" way.  I recommend avoiding the lazy path (slap me on the wrist) and doing it the right way.  Here's a tutorial on how to attach binding the correct way.  You'll see why...


I attached my binding right over the original binding of the onesie.  I've also made cardigans where I cut the original binding off first, but these don't tend to fall as nicely or retain their shape as well.  It's personal preference, really.

The bottom (where I left the snaps intact) was where I folded the binding under for a clean edge. 


5. Sew binding in place.  Because I took a stupid shortcut, my stitch missed sections of the binding on the underside.  Boo...  So I had to sew two rows of stitching to fix my boo-boo.


6. Pin cardigan closed and arrange buttons.  If you enjoy sewing buttonholes (gross) go for it.  But since this will be worn by a baby who doesn't care, I just sewed the whole front shut and added buttons purely for visual interest.


7. Enjoy the finished product!


This onesie is still a little big for my tiny guy (hence the strange gaping). And Little J was not focused on the task during his photo shoot... So I took whatever photos I could get!


Rascal...

Click here for my tutorial on how to make these baby leggings!