
Halloween is normally a pretty big holiday for me. I'm the kind of person who likes to have more than one costume each year - you know, a costume for every party or every day of Halloween week (or something like that). The first year that Jared and I were dating I somehow convinced him to dress up in a full pirate costume - makeup and all. Looking back, it's abundantly clear that he was only willing to dress up because he thought it would impress me... and it did. But ever since that first Halloween together, each year his costume preferences have become more and more limiting. It started with, "no makeup or masks," and has finally turned into little more than, "just a T-shirt, thanks." Luckily for me, my young chap is a little less picky about his costume...
I may have mentioned at some point the magnitude of our Harry Potter fanhood. I wasn't exaggerating.

As a big, huge pregnant lady, my costume options were a little more limited this year than in the past. Jared suggested that I could go as the Death Star... which, after my initial reaction of insult, sparked an idea. I could dress as anything ball-shaped. I thought of dressing Little J as an astronaut and making an "Earth" costume for my pregnant belly. But then I thought of this:

The Golden Snitch! This inspiration led me to the idea for Jared's costume as well.


This year's Halloween is different than other years for several reasons: I'm pregnant (and tired and busy and moody), Little J is a
The Marauder's Map:
I bought Jared a white T-shirt at Hobby Lobby (on sale) and found a black fabric pen (bought with a coupon). The white was really really white, and didn't look nearly antique or distressed enough to be an authentic-looking Marauder's Map... so I dyed it. I quite simply dunked the whole shirt in a bowl of strong coffee for 30 minutes or so (then washed it, since Jared is nauseated by the smell of coffee). It didn't end up as off-white as I hoped, but it was better than the stark, paper white that it started as.

I found some pictures of different views of the map (from the movie) online and made a collage of my favorite images on the front of the shirt.

Then, on the back...

Here's the stud wearing my final product! (For some reason he chose to flex all his muscles for this photo... not a typical Jared thing to do, but resulted in a super adorable picture!)

The Golden Snitch:
I would be lying if I told you that this costume was easy. Or quick. But it was inexpensive to make. I started with a black T-shirt from Hobby Lobby (on sale) and bought these sparkly and iridescent canvas sheets, as well as some gold fabric paint. I had fabric glue already, so that part was free for me :)

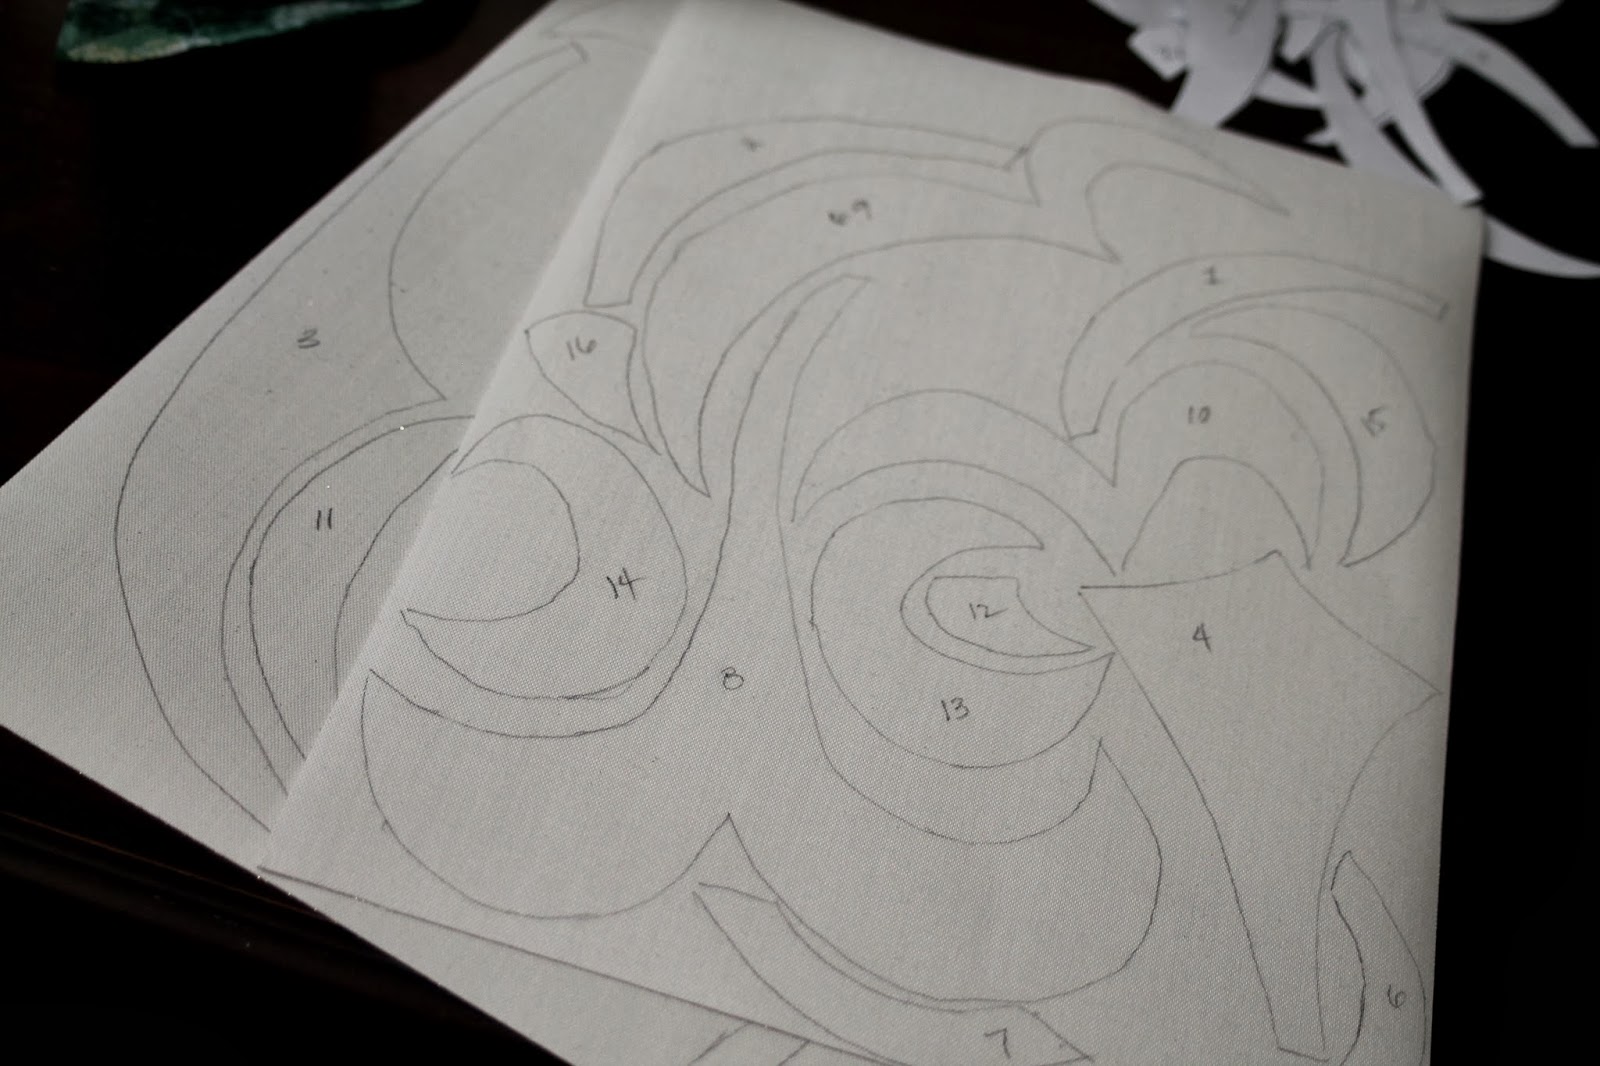
I drew a design for my Snitch, based very loosely on the Snitch from the movies (which wasn't nearly as swirly or "pretty" as I wanted mine to be. See bottom corner of the piece of paper).

I measured by belly's width and height so I would have a good idea of how big my final design needed to be, then drew a scale pattern based on my original design.

Then I cut the pattern pieces out. I made sure to number each one, corresponding with a matching number on my original drawing (so that I could more easily piece the whole thing together on the shirt - like a puzzle map).

I traced my puzzle pieces upside-down onto the backs of my gold sparkly canvas and cut them out (also numbering these). I traced them backward onto the back so that they wouldn't end up inverse when I flipped them back over.

The final step was to arrange the gold pieces on my shirt and glue them down. I had to rearrange the pieces several times in order to create the exact shape I wanted. Then I used my fabric paint to add embellishments to the gold pieces (and in between them). I added wings, which ended up looking like they were fluttering in my armpits, but still had the right effect.


Baby Harry Potter:
This costume was easily the most simple and inexpensive of all three. Little J had a white collared shirt already, and we just dressed him in some comfy pants to complete the Hogwarts uniform. I had some scrap fabric that I used to "quilt" a striped Gryffindor tie for the Dude. I attached it to a strand of elastic (to make things easy - you know... toddler).

I had an old black skirt that I've been hanging onto for just this kind of project, which I cut up using my very limited knowledge of pattern-design. I measured Little J's shoulder width and arm length to ensure the robe wouldn't end up hanging off of his tiny body like a tent.

To make his wand, I rolled a brown piece of card stock paper into the shape I wanted and taped it closed. I thought of using a drum stick for his wand, but after imagining the kind of damage such a tool could do when smacked against my knee caps or the dogs' heads, I went with something a little less harmful.


I grabbed my trusty glue gun and swirled on some squiggly designs to the handle. After it dried I painted some brown paint over the top to mask the tape and glue.


He wasn't nearly as thrilled with this new toy as I expected him to be. He certainly didn't have much interested in casting any spells right away...

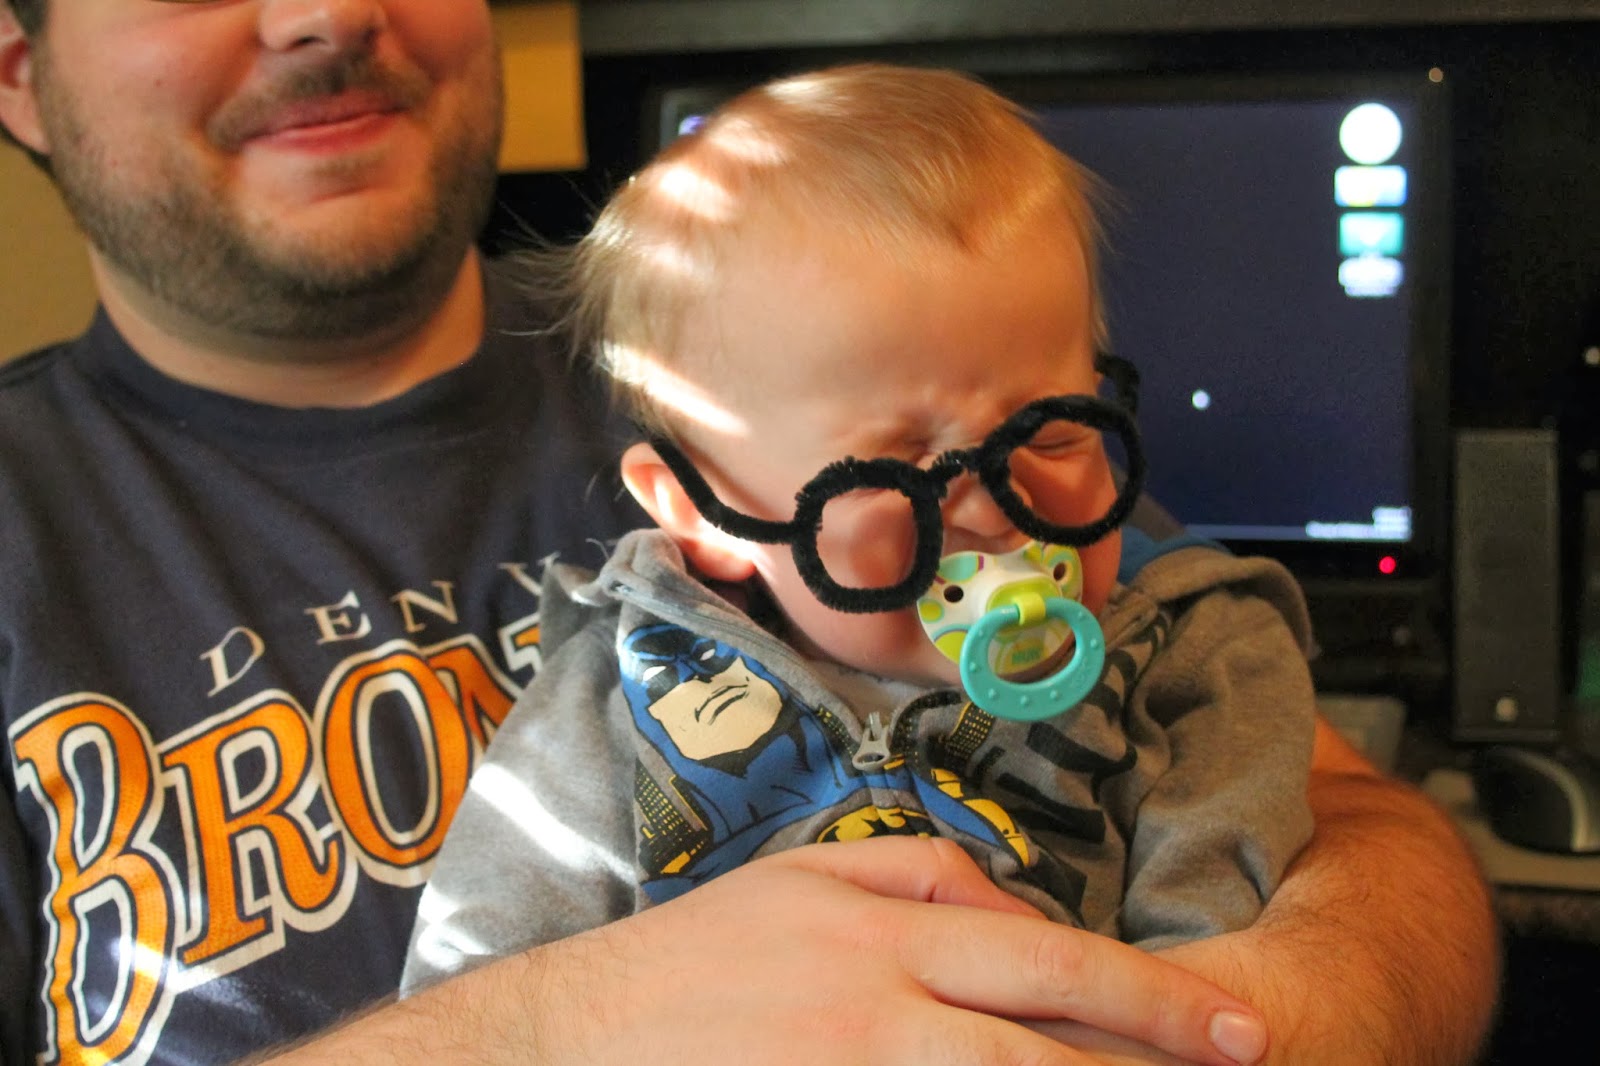
I attempted to make some Harry glasses using black pipe cleaner. They turned out adorable, but the Peanut wasn't impressed. Zooey, as always, was a perfect model...

The final costume cost me $0.00, since I used only supplies that I already had around my house. Goes to show... saving ill-fitting garments for years can eventually pay off in the form of "free fabric!"

Being a wizard was so much fun!

The whole family:

And a cute picture with Pops, because I just can't resist....

No comments:
Post a Comment